In one of my projects, I needed to reconstruct an object for automatic painting by a robot arm. The target object is a hollow electricity meter box and the robot needs to paint the insides of this object. It is easy to paint the exterior of an object, but to paint the insides of a hollow object we need a decent enough point cloud to make sure our path planning works properly.


An illustration of the object to draw is given below

As indicated by the red arrows, the area just behind the small area is the target of the painter.
Since I don't have electricity boxes lying around, I tried my experiments on a cereal carton.

This is a long winding road of trials and errors and is divided into several parts. The first part is about the point cloud generation. Followed by experiments on camera movement tracking and scene and object reconstruction from point clouds. Finally a method to determine path points for the robot painter will be discussed.
Preliminary research
One of the first things to try was 3D reconstruction of the scene. Hopefully we can get a good representation of the object that is enough for the path finding algorithm.
3D Scene Reconstruction
Using a Realsense D415 depth camera, I attempted to capture the cereal box as point cloud.

Point cloud representation of the cereal box
This approach has a few problems, mainly:
- Edges have a lot of noise
- Sides that are not visible from the camera are not detected
To solve these problems, I looked into ways to merge multiple view point clouds so we can get a full representation of the box. I tried first with ICP and performing iterative point registration but the accuracy is not good enough so I tried using a marker to capture various views and merge the point clouds together.
Marker based multi-view point cloud reconstruction
The following is my attempt to get a better point cloud reconstruction from multi view using a marker of known pattern and size. The marker chosen was the chessboard calibration pattern widely used in camera calibrations. The following images depict the scene setup.


Three views of a sofa in the living room along with the chessboard pattern
The usage of a marker improved the reconstruction a lot and I managed to get the reconstructed sofa as shown below.
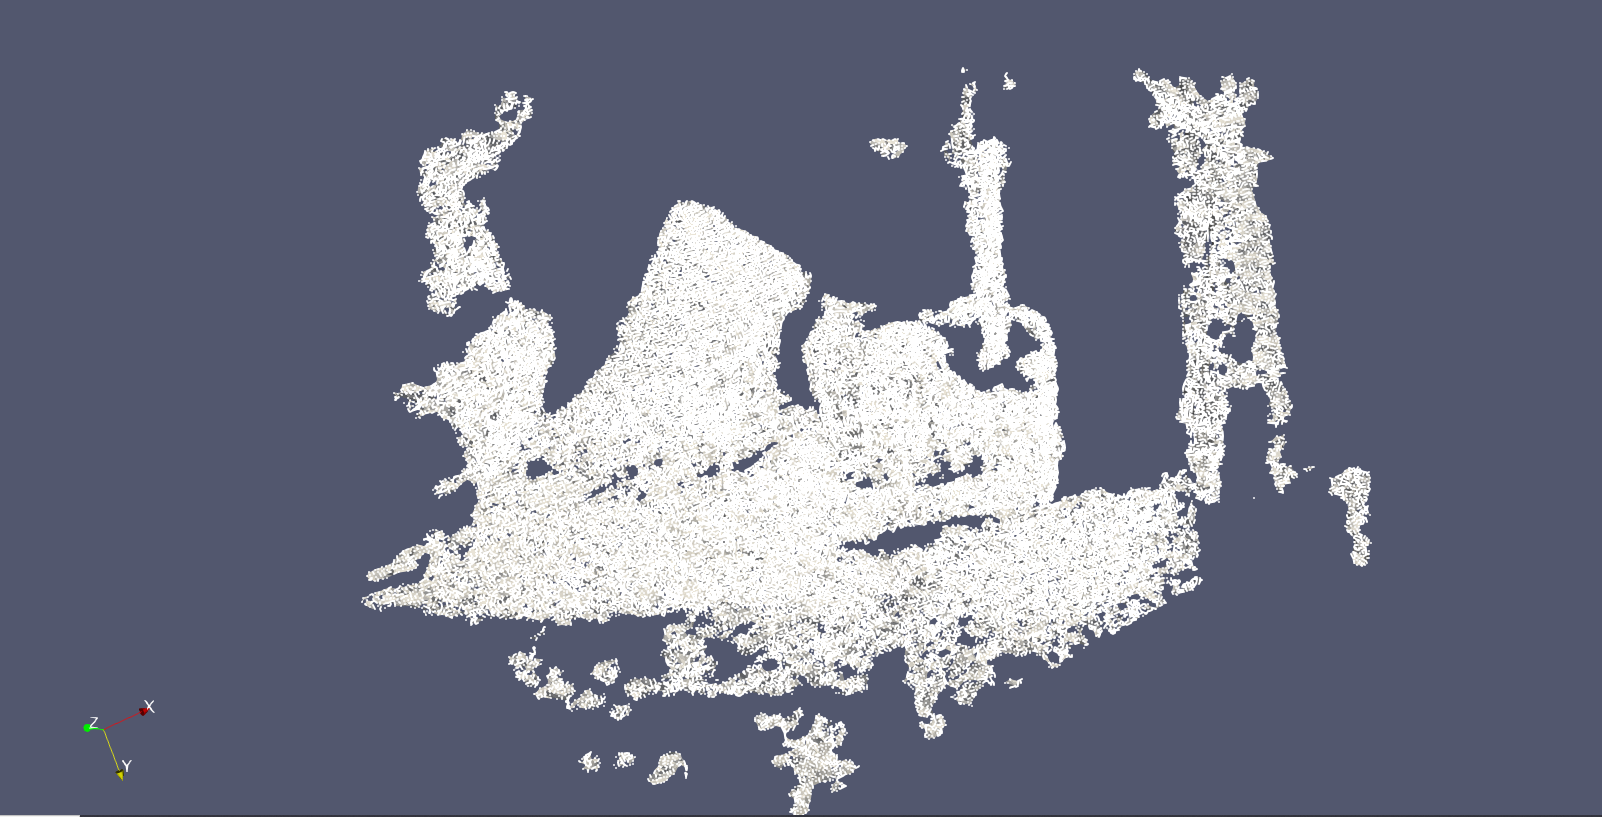
3D point cloud representation of the sofa
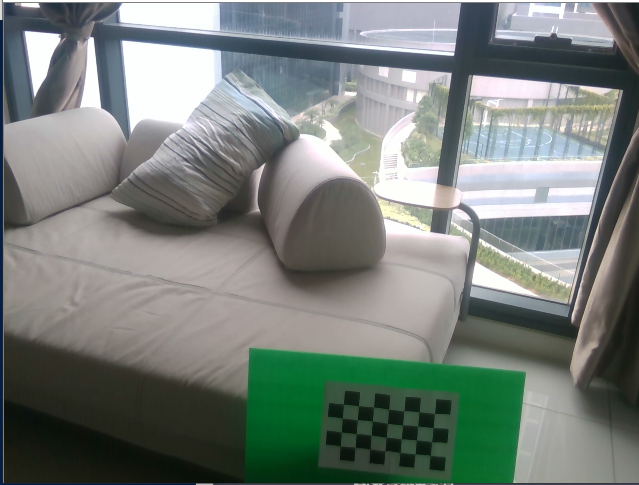
Color image of the sofa and its surroundings from the same view
Implementing marker based multi-view registration on the cereal box
So the next step will be to try the reconstruction process on the cereal box. The marker has also to be visible to the camera so this poses a small challenge in camera placement but overall I found that overcoming this is not so hard.


Two views of the cereal box next to a known marker
With this method, there is no need to incrementally register point clouds and we can just rely on the transformation matrix of the camera relative to the marker.
The result reconstruction is shown below.
We can see that the transformation matrix from the marker really helped in aligning the two views, even though they are far apart and we don't have incremental positions in between. The accuracy needs more work however and I believe this can be overcome by better hardware, and also more thorough calibration of the camera parameters. Using multiple markers may also improve the transformation matrix estimation.
Future work
A better calibration process, along with multiple markers seem to be promising to increase accuracy of alignment.
Comments
Post a Comment